Horizon Zero Dawn has plenty of content. Make sure you see and do everything before you initiate endgame. Spoilers, obviously.
Contents
Critical path main story quests
Best ending and All Allies Joined trophy
Side quests and errands
- Mother's Embrace
- Sacred Lands
- Meridian
- Carja Territories
Cauldron locations for spear upgrades
Weapon tutorials
Open world content
Horizon Zero Dawn has tens of hours of main quests, side quests and open world content to explore.
This guide page lists all the side quests we found in Horizon Zero Dawn and therefore provides a checklist of tasks to complete on your way to 100% completion, but it also explains the critical mission path and what you'll need to do when in order to see all the story content. You can go back and fill in anything you missed in Horizon Zero Dawn after you've finished the main story, but it means you won't see some of the extra material available to those who get everything done.
Further down this page, we'll also provide some guidance on how to find and complete all Horizon Zero Dawn's option tutorial missions (very rewarding) and where to find all the open world content including Cauldron locations. Use the sidebar box to navigate to what you need.
This page does get a bit spoiler-y talking about what you need to do before Horizon Zero Dawn's ending for best results, but we'll be careful not to mention any explicit story details as we go.
Check our full Horizon Zero Dawn guide for more tips and walkthroughs. If you're specifically looking for a list of quests and content in The Frozen Wilds, we have that too.
Horizon Zero Dawn: critical path main story quests
Below you'll find the quests listed as main story missions in Horizon Zero Dawn's menu. Occasionally you'll have more than one main quest available, and apart from the difficulty guidance the quest menu provides, you can do them in any order.
In general we suggest following your original Horizon Zero Dawn questline until you reach The War-Chief's Trail. Complete that and it's followup, Revenge of the Nora, before returning to the first questline in A Seeker at the Gates. Level permitting, branch off again at Field of the Fallen, which leads into Into the Borderlands and The Sun Shall Fall, before getting back to Maker's End. This approach seems to make the most sense narratively given the urgency of each of the quest's goals.
If you're looking for sidequest guidance there's a list below, but in general, tick off everything on the east side of the map (the Sacred Lands) before pushing into Carja Territories, and then do another sweep for the remainder of the map before proceeding through Deep Secrets of the Earth. You'll be rewarded with acknowledgment of your many accomplishments in Horizon Zero Dawn by dialogue in subsequent scenes.
- A Gift From The Past
- Lessons of the Wild
- The Point Of The Spear
- Mother’s Heart
- The Proving
- The Womb of the Mountain
- A Seeker at the Gates
- The War-Chief’s Trail
- Revenge of the Nora
- The City of the Sun
- The Field of the Fallen
- Into The Borderlands
- The Sun Shall Fall
- Maker’s End
- The Grave-Hoard
- To Curse the Darkness
- Deep Secrets of the Earth
- First point of no return
- The Terror of the Sun
- The Heart of the Nora
- The Mountain That Fell
- The Looming Shadow
- Second point of no return
- The Face of Extinction
How to get the best ending and All Allies Joined trophy
Horizon Zero Dawn doesn't really have multiple endings but if you complete all the major side quests before completing the final mission, you'll get a stack of extra dialogue and even a trophy - All Allies Joined.
Additionally, there are several dialogue scenes triggered along the critical path, and even at the end of certain side quests, that vary considerably depending on what you've completed up until that point.
That's about all we can tell you without ruining things story-wise, but basically: it's in your best interest to do every side quest as soon as you can before progressing further down the critical path. The final point of no return occurs during the mission The Looming Shadow: do not proceed with this quest until you're sure you've done everything you can.
When you have done everything you can do at this point, reap your reward by visiting the two optional objective sites listed in The Looming Shadow's quest log. With that done, make a backup save just in case, and allow Aloy to go to bed. When you do so, the quest ends and you should receive your All Allies Joined trophy.
(Don't worry too much if you faff this up; the extra dialogue is nice but you're not missing anything super essential and it doesn't count towards completion statistics.)
Here are the quests and side quests that seem to effect dialogue during The Looming Shadow and your chances of getting the trophy:
- The War-Chief's Trail and Revenge of the Nora (main quests)
- The Field of the Fallen, Into the Borderlands and The Sun Shall Fall (main quests)
- A Moment's Peace (side quest)
- Traitor's Bounty and Queen's Gambit (side quests)
- Hunting for the Lodge (errand)
- Hunter's Blind, Deadliest Game and Redmaw (side quests)
- Heap of Trouble (side quest)
- Sun and Shadow (side quest)
There's another point of no return a little earlier in Horizon Zero Dawn, during Deep Secrets of the Earth. The game itself flags this heavily in dialogue. Again, you'll get extra dialogue if you have done all the major side quests as you continue past this point.
All Horizon Zero Dawn side quests and errands
Below you'll find a list of every side quest and errand we found in Horizon Zero Dawn. We've grouped them by general region, and put them in the order you'll likely explore the map in.
Mother’s Embrace
These quests can be found in Horizon Zero Dawn’s starting zone, before Aloy has access to the whole map.
- Side quests
- The Forgotten
On the main road south towards Mother’s Watch, look for a tall rock spire. Speak to the woman at the top. - In Her Mother’s Footsteps
North east of Mother’s Watch, along the riverbank, you’ll find an injured man who gives this quest.
- Errands
- Odd Grata
Ask Rost “Anything else?” at the beginning of the adult Aloy sequence in the prologue, or encounter Grata at her camp high in the mountains to the west of your starting point.
The Sacred Lands
All of these quests can be activated before leaving the Nora hunting grounds and crossing into Carja lands at Daytower.
- Side quests
- Insult to Injury
Speak to Fia in Mother’s Rise, a settlement found along the mountains forming the border between Mother’s Embrace and the wider Sacred Lands. - A Daughter’s Vengeance
Speak to the worried young man in Mother’s Rise. - Ancient Armory
Explore the Bunker ruins east of Mother’s Rise. - A Moment’s Peace
Speak to Tikuk in the Banuk Encampment at the far north east of the Sacred Lands. - Underequipped
Speak to the worried trader at Hunter’s Gathering, a settlement in the north west of the Sacred Lands, close to the border with Carja.
- Errands
- Hunting for the Lodge
Speak to a Keeper at any of the Hunting Grounds arenas. - Sanctuary
Speak to Den in Mother’s Rise. - Shortage of Supplies
Speak to Sona in Mother’s Crown. Must have completed The War-Chief’s Trail and Revenge of the Nora. - Luck of the Hunt
Speak to Taim in Mother’s Crown. - To Old Acquaintance
Speak to Gera at Hunter’s Gathering. - Traitor’s Bounty
Unlocked during a cutscene on the critical path. - Queen’s Gambit
Unlocked upon completion of Traitor’s Bounty.
Meridian
All of these quests can be found in or near Meridian, or are intimately tied to it.
- Side quests
- Robbing the Rich
Speak to the noble loudly decrying a robbery near the main market area. - Honor the Fallen
Speak to Mournfall Namman in the circular area on the upper level of the city. - Fatal Inheritence
Speak to Ranaman in Meridian Village, a settlement just south east of the city itself. - Hunter’s Blind
Speak to Talanah in the Hunters Lodge. Must have completed the errand Hunting for the Lodge. - Deadliest Game
Speak to Talanah in the Hunters Lodge. Must have completed Hunter’s Blind. - Redmaw
Speak to Talanah in the Hunters Lodge. Must have completed Deadliest Game.
- Errands
- Demand and Supply
Look for two squabbling merchants on the outer edge of Meridian, towards Meridian Village.
Carja Territories
These quests are available as Aloy roams the wider map beyond the Sacred Lands. Quests found in Meridian and nearby hubs are not included here.
- Side quests
- Heap of Trouble
Speak to Petra at Free Heap, a settlement to the north east of Carja territories, close to the border with the Sacred Lands. - Hammer and Steel
Speak to Kaeluf at Free Heap. - Death from the Skies
Find a man wounded on the roads west of Free Heap. - Blood on Stone
Speak to the quarry foreman at Cut Cliffs, a settlement north east of Meridian. - Sun and Shadow
Speak to Lahavis at Brightmarket, a settlement northwest of Meridian. - Sunstone Rock
Approach Sunstone Rock, a settlement far to the southwest of Meridian. - Cause for Concern
Unlocked after completing all Bandit Camps if you’ve met Nil on your journeys.
- Errands
- In Foreign Lands
Speak to Balahn at Daytower. - Collateral
Unlocked during The City of the Sun during conversation with Olin. - Sun’s Judgment
Speak to the grumbling stall owner in Brightmarket. - A cCrious Proposal
Speak to Fernund in Brightmarket. - Healer’s Oath
Speak to Abas outside Sunfall.
Cauldron locations for spear upgrades
Cauldrons are worth highlighting above and beyond open world content because they have such a significant role in Horizon Zero Dawn.
These special dungeons offer insight into the origins of and behaviour of the machines - but they also offer you the chance to add deadly tools to your arsenal by upgrading your spear to override more machines.
Override is one of the most powerful tricks in Aloy's repertoire, so make sure you visit each cauldron as soon as you can. There's nothing more Horizon Zero Dawn then turning a Thunderjaw loose on a pack of machines, then mopping up the debris.
- Cauldron Sigma
In the Sacred Lands, north of Mother’s Crown. - Cauldron Rho
In the Carja Territories, south of Daytower. - Cauldron Xi
In the Carja Territories, far south of Meridian. - Cauldron Zeta
In the Carja Territories, north of the Sunfurrows Hunting Grounds.
All weapon tutorial missions and how to beat them
Every time you acquire a new weapon in Horizon Zero Dawn, you unlock a short tutorial quest. These offer pretty decent XP for not very much work, but be aware you have to manually select them in your quest journal for your actions to count as progress.
Other Horizon Zero Dawn strategy guides
Power Cell locations for Ancient Armor quest
Horizon Zero Dawn tips
Death Stranding Easter eggs
- Sharpshot Bow
Kill three Watchers using Precision Arrow shots to the eye. - War Bow
Shoot power cells using Shock Arrows. Scrappers are the easiest targets; just be sure they’re facing away from you and ping them in the canister on their butts. - Tripcaster
Trip three machines with Shock Wires. Any will do. - Sling
Freeze three machines weak to frost damage, such as Lancehorns or Tramplers, with Freeze Bombs. - Blast Sling
Kill multiple (two or more) enemies with single shots from your blast sling. Human enemies in bandit camps or herds of Striders are the easiest targets. - Ropecaster
Tie down three small machines, such as Watchers or Striders. - Rattler
Kill three human enemies using Metal Bolts. The Rattler is kind of like a shotgun, so just get good and close and let rip. - Carja Tripcaster
Trip three machines with Blast Wires. Easily completed during the Nora Hunting Grounds challenge. - Carja Sling
Shock three machines weak to shock damage with Shock Bombs. Scrappers are a good bet. - Carja Sharpshot Bow
Remove three machine parts using Tearblast Arrows. These must be components like canisters or weapons, not armour plates, so aim precisely. Focus will identify valid targets, but just because you can see it doesn’t mean you can hit it from every angle. Grazers are good targets. - Carja Ropecaster
Tie down three medium-sized machines. Sawtooths, Bellowbacks and Shell-Walkers count. Easiest if you can find one on its own. Tie the same one down three times if you like; just make sure it is completely free before you start again. - Carja Blast Sling
Attach three Sticky Bombs to machines. Very easy from stealth, or find something you can't miss because it's enormous. - Carja Rattler
Shock three machines weak to shock damage using Shock Bolts. Longlegs are easiest for this, as Stalkers are more annoying to fight. - Carja War Bow
Shoot Freeze Containers using Freeze Arrows. There are several machines with Freeze Canisters but Lancehorns are far and away the easiest targets; like Grazers, they have a stack of canisters on their backs you can hit with ease from behind them. - Shadow Hunter Bow
Shoot ten plates from machines. This is kind of a pain and easier if you can find an isolated large machine like a Ravager, nullify its ranged attacks with Tearblast Arrows, and then sit up high on a rock where it can’t reach you. Armour plates are pale coloured and when you knock them off the creature appears darker, so target accordingly. You’ll probably need to repeat this a few times to get ten plates. And then you’ll never use this ammo again, probably. - Shadow Tripcaster
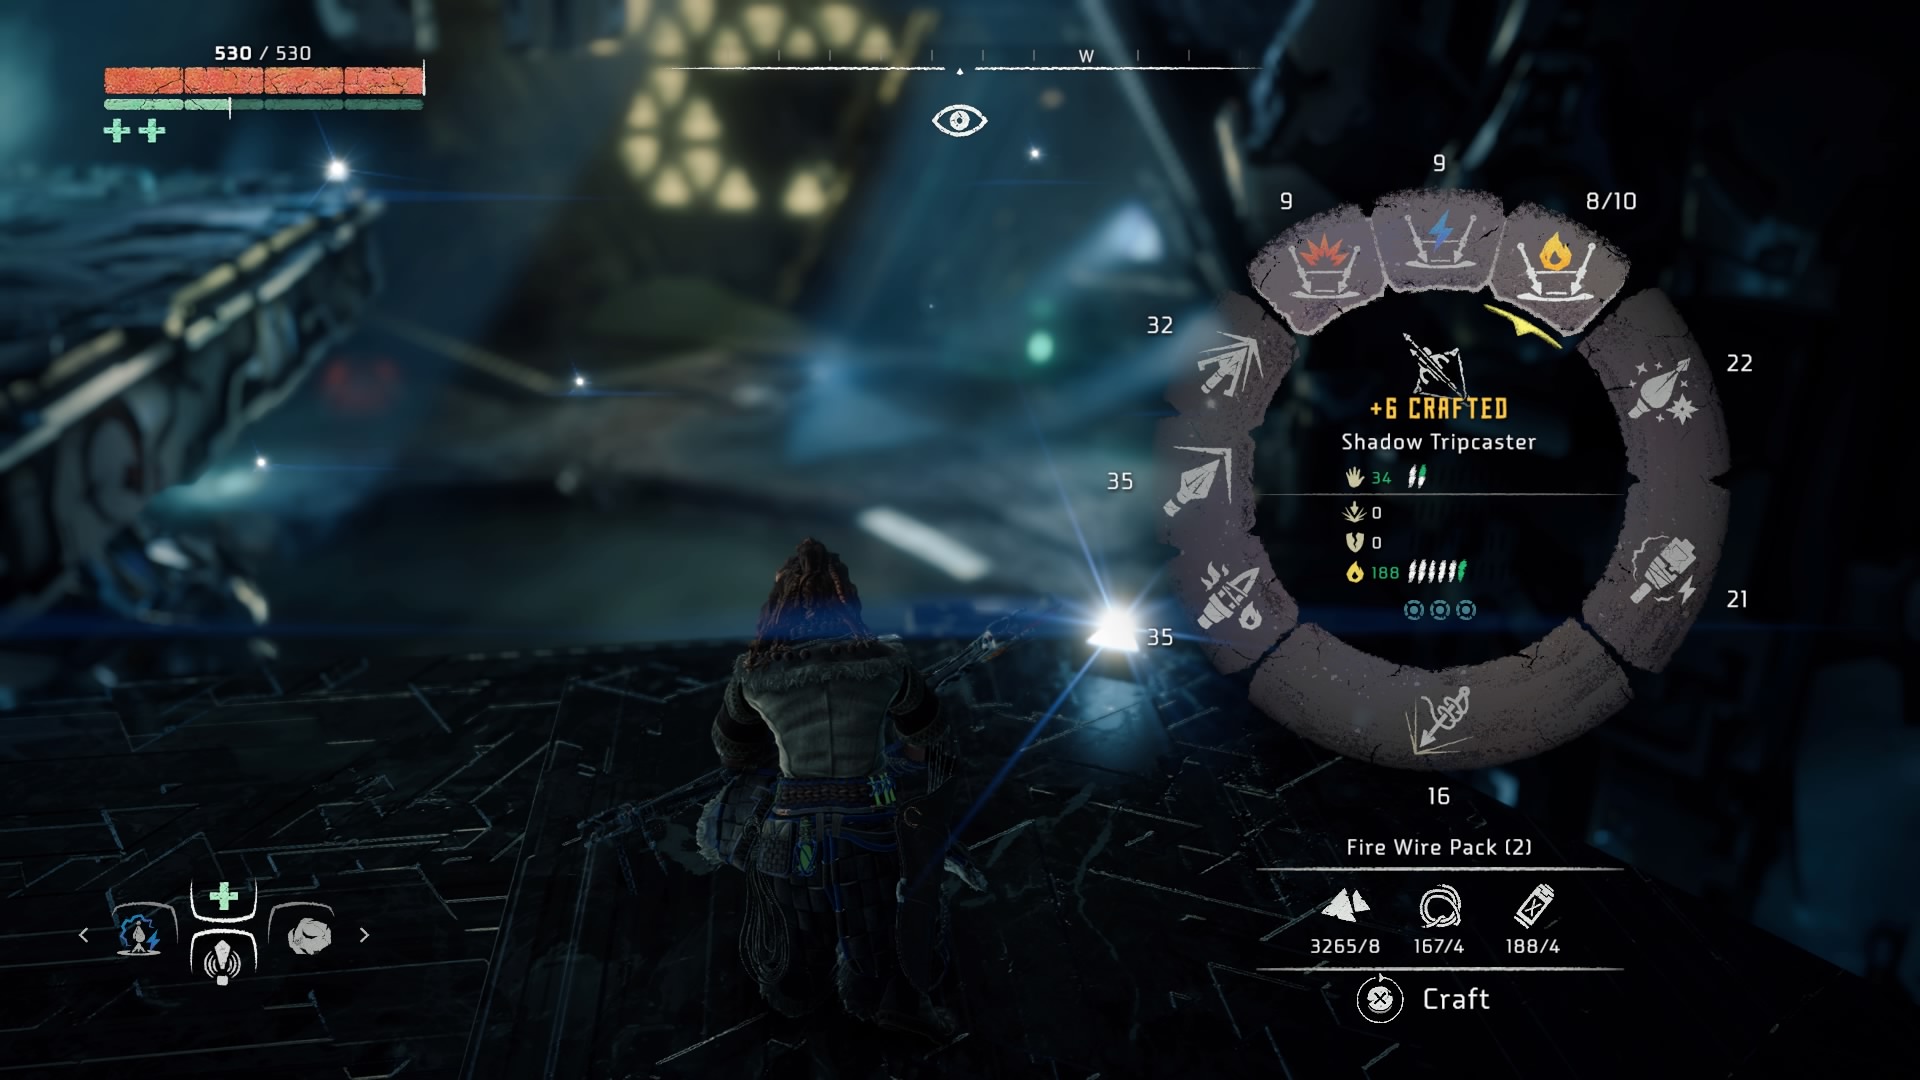
Trip three machines with Fire Wires. No special requirements, so very easy. - Shadow War Bow
Enrage three machines with corruption arrows. If you don’t have the Triple Shot skill, find some Watchers or Striders to knock this one over quickly. The more powerful machines will take several shots to corrupt, and since corruption doesn’t make the target friendly to you, you don’t want to break stealth doing this. - Shadow Blast Sling
Kill three machines with Proximity Bombs. The bombs will one-hit kill weaker enemies, but you’ll have to weaken more powerful ones first. Try laying a line of bombs around you then blowing up a canister on something that will charge you in retaliation. - Shadow Ropecaster
Tie down three large machines. Large machines include Stormbirds, Thunderjaws and Rockcrushers. Thunderjaw is easiest to hit; take out any other nearby machines first and, if you’re really struggling, knock off all the Thunderjaw’s weapons so you’re relatively safe from attack as you tie it down repeatedly. - Tearblaster
Remove 15 machine components. The Tearblaster is really easy to use as you only have to point it vaguely in the right direction. Make sure your target actually has some components left to knock off; armour plates do not count. - Shadow Sling
Burn three machines vulnerable to fire using Fire Bombs. This must be a body vulnerability, not a canister or other component weakness. Sawtooth, Freeze Bellowback, Glinthawk, Corruptor, Ravager and Snapmaw all work. - Shadow Sharpshot Bow
Shoot off elemental canisters using Harvest Arrows. Grazers and Lancehorns, or perhaps even Striders, are the easiest targets here.
Open world Horizon Zero Dawn content
As well as the formal quests listed above, Horizon Zero Dawn has plenty of open world tomfoolery to keep you amused. Below you'll find a check list of what you should see and do as you wander the map; overriding Tallnecks will reveal all of these locations, but as long as you go everywhere you shouldn't miss anything.
Collectables
See our Horizon Zero Dawn collectables guide for vantages, metal flowers, ancient vessels and Banuk artifacts. Or just buy the maps found in the Special items section of any post-prologue merchant's inventory.
Bandit Camps
Bandit camps are fortresses filled with human enemies. For best results, sneak in and disable the alarm first; that prevents reinforcements. Free prisoners for AI assistance. Prior to your first bandit camp in the sacred Lands, look for an NPC nearby. Nil proves to be an able companion throughout Horizon Zero dawn if you befriend him.
- Devil’s Thirst
- Hollow Fort
- Two-Teeth
- Gatelands
- Shattered Kiln
- Blackwing Snag
Tallnecks
Tallnecks are to Horizon Zero Dawn what towers are to Assassin's Creed and Far Cry - but they're only a few of them, thankfully. Your goal is always to battle or sneak through nearby machines so you can reach a platform along the Tallneck's patrol route high enough to allow you to jump onto its back. From there it's an easy climb to the head to fill out nearby map icons.
- Devil’s Thirst
- Copper Deeps
- Sun-Steps
- Spearshafts
- Rustwash
Corrupted Zones
There are 11 corrupted zones on the map. They don't have names, but they're hard to miss. Tallnecks will reveal them on the map.
ncG1vNJzZmivp6x7t7ORbW5nm5%2BifKm70aKxqKZdr7Kzu4ydmLCmXZa5rXnApaOinaNit7C1zZ6bZpuRqrmlvs6nZKWnk5bBqrvNrGSqrZWowbQ%3D
